


Description
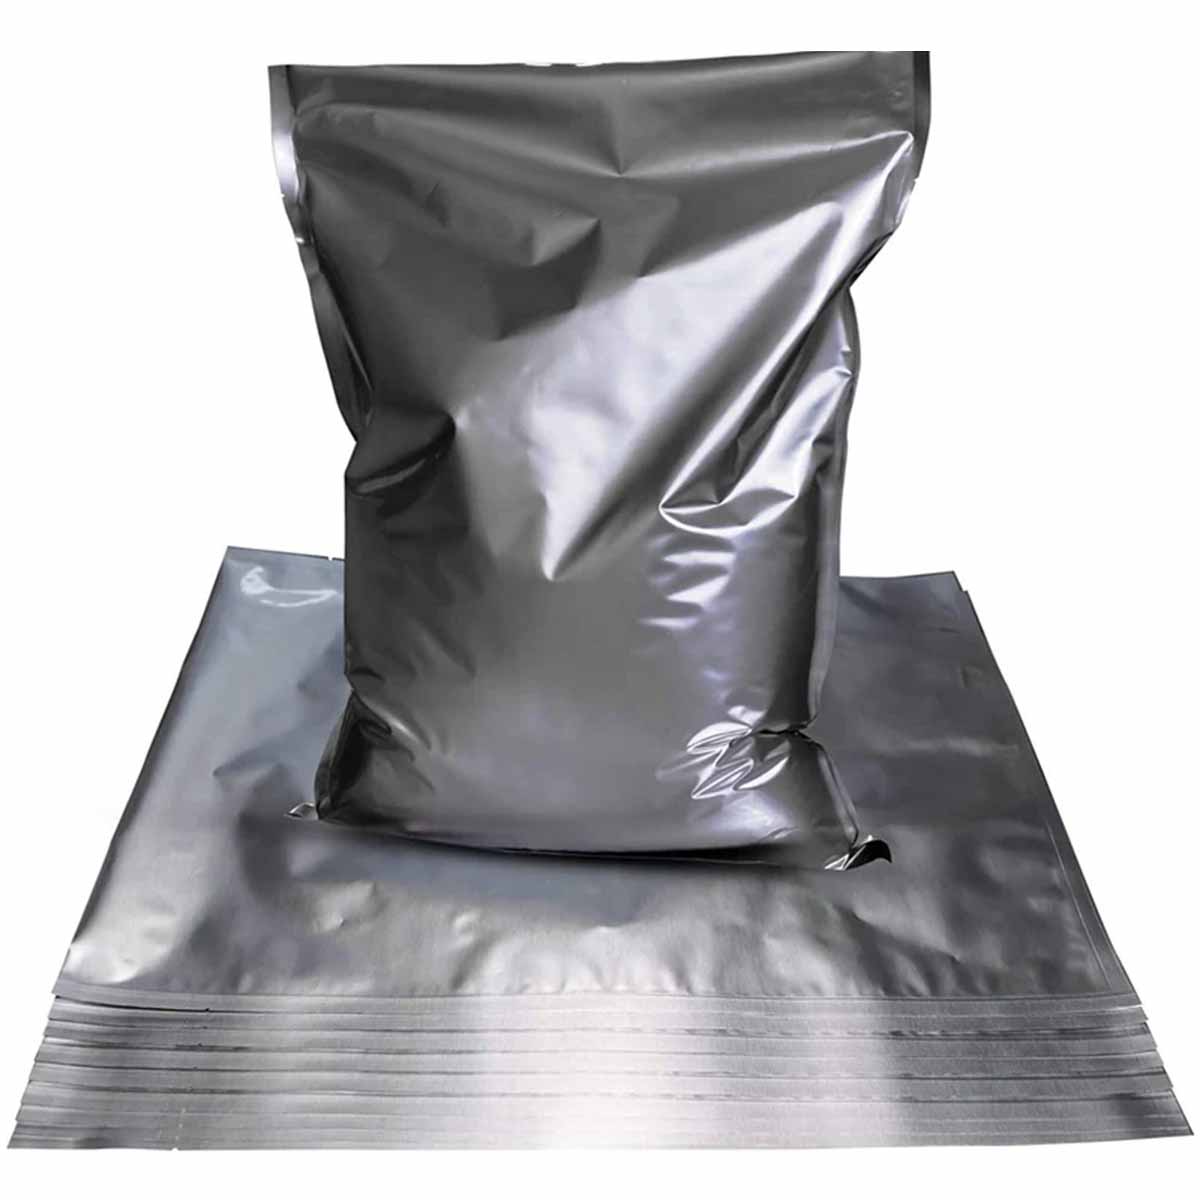
Large Mylar Bags Wholesale for Long Term Storage and Shipping
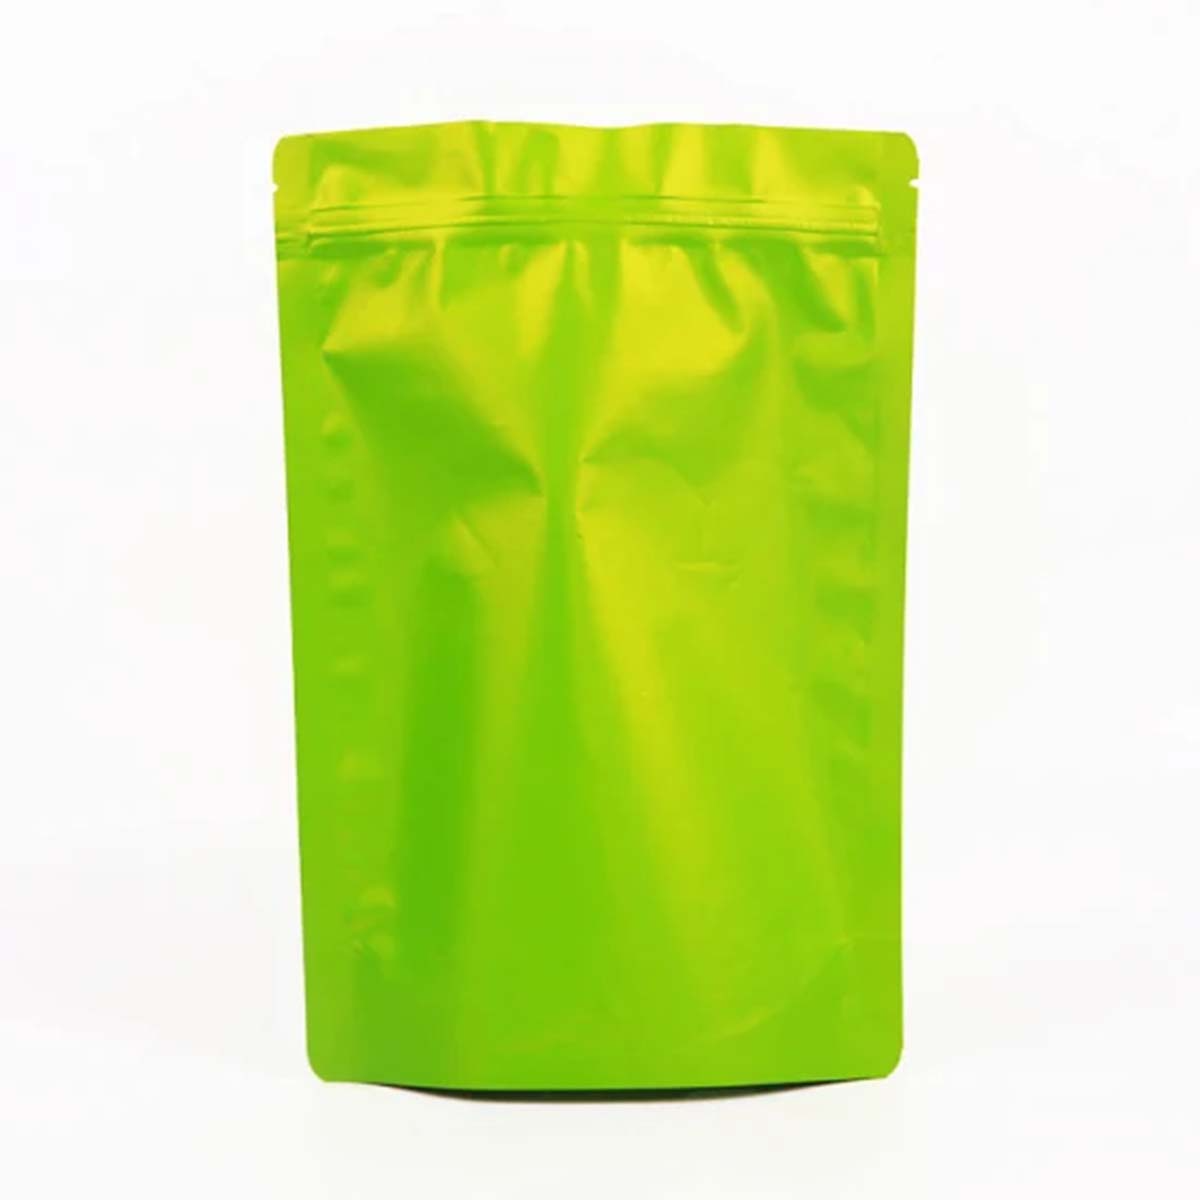
Large Mylar Bags keep bulk food fresh, block light, and resist moisture transfer. The polyester–aluminum barrier locks in quality for grains, rice, beans, pasta, dehydrated fruit, coffee, and pet foods. In the first 100 words you’ll see key phrases users search for such as Extra large mylar bags, Large mylar bags wholesale, Large mylar bags bulk, 5 Gallon Mylar bags, 10 Gallon Mylar Bags, and Best Mylar bags. We at Premium Mylar Bags supply custom sizes with fast printing, clear windows if needed, and airtight heat-seal tops that work with standard impulse sealers.
Premium Mylar Bags offers Large Mylar Bags at wholesale pricing with consistent film gauges and food-grade inks. Orders ship flat, save shelf space, and seal quickly during prep. You can request plain silver, matte white, matte black, or print across the front and back for brand storytelling and batch details.
Built For Food Quality And Easy Handling
Large format pouches need strong lamination, oxygen barriers, and seams that hold weight. Our film structures are engineered for reliable sealing, clean tear lines, and stack-friendly shapes that sit well in bins and on pallets.
Why Size And Film Thickness Matter
- Thick film helps resist punctures from beans and sharp grains.
- Proper gusset width allows the bag to stand upright during filling.
- Opaque layers protect against light that can stale coffee and oils.
- Optional zipper allows partial use without losing freshness.
Our process uses batch checks for seal integrity and oxygen transmission rate, so every run meets the same storage goals.
Large mylar bags for food storage
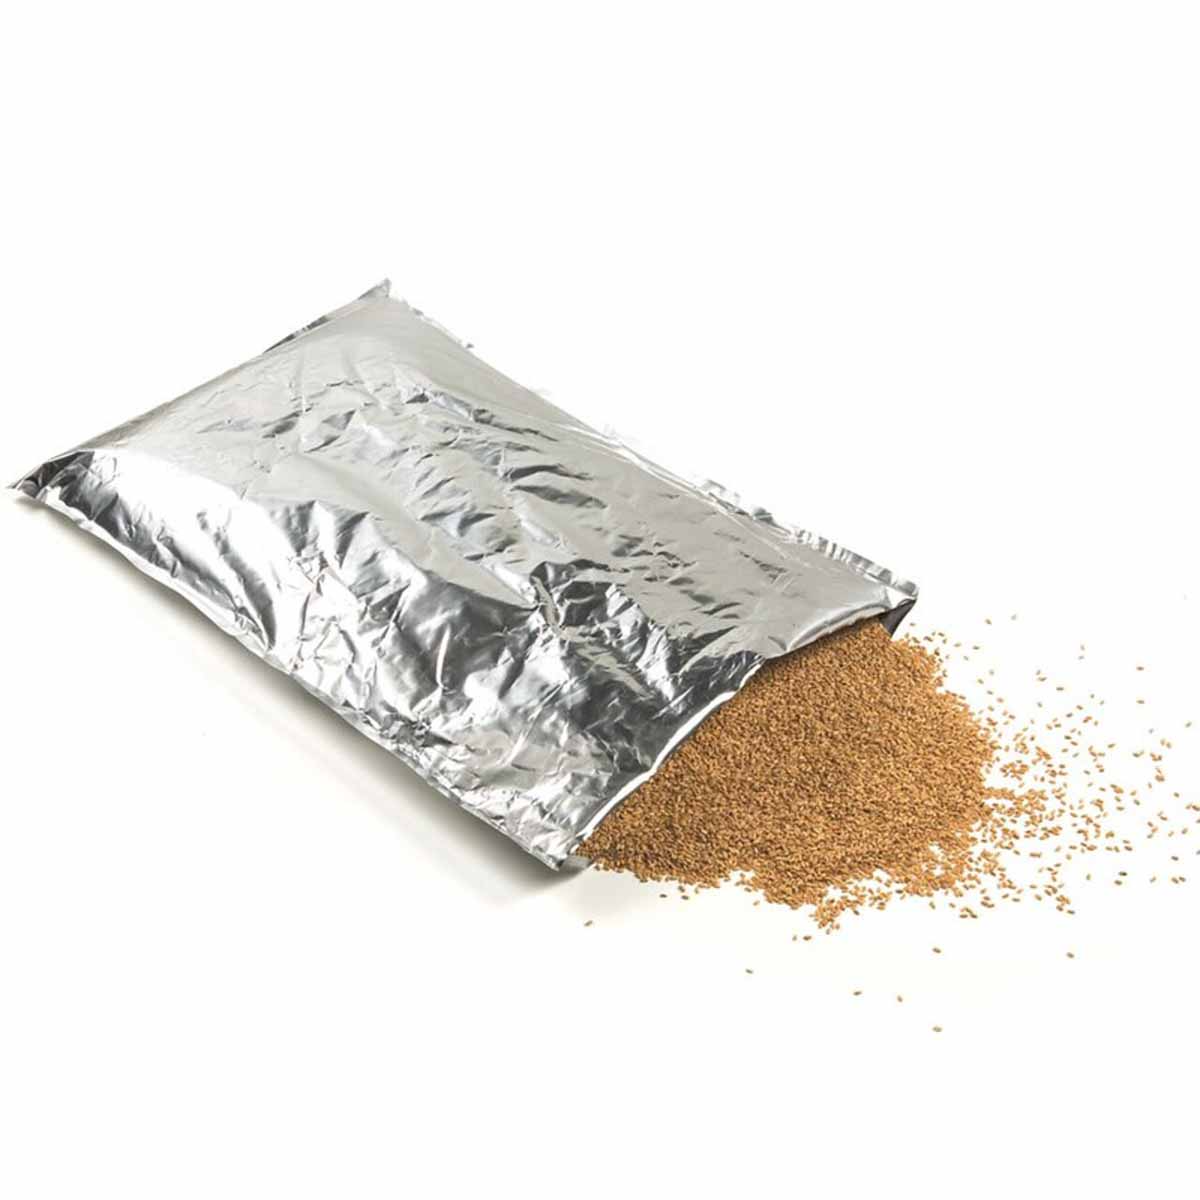
Large formats are used for pantry stockups, emergency reserves, and commercial kitchens that portion weekly. Pair with oxygen absorbers to reduce residual O₂ below target levels, then heat seal the top seam.
Filling And Sealing Basics
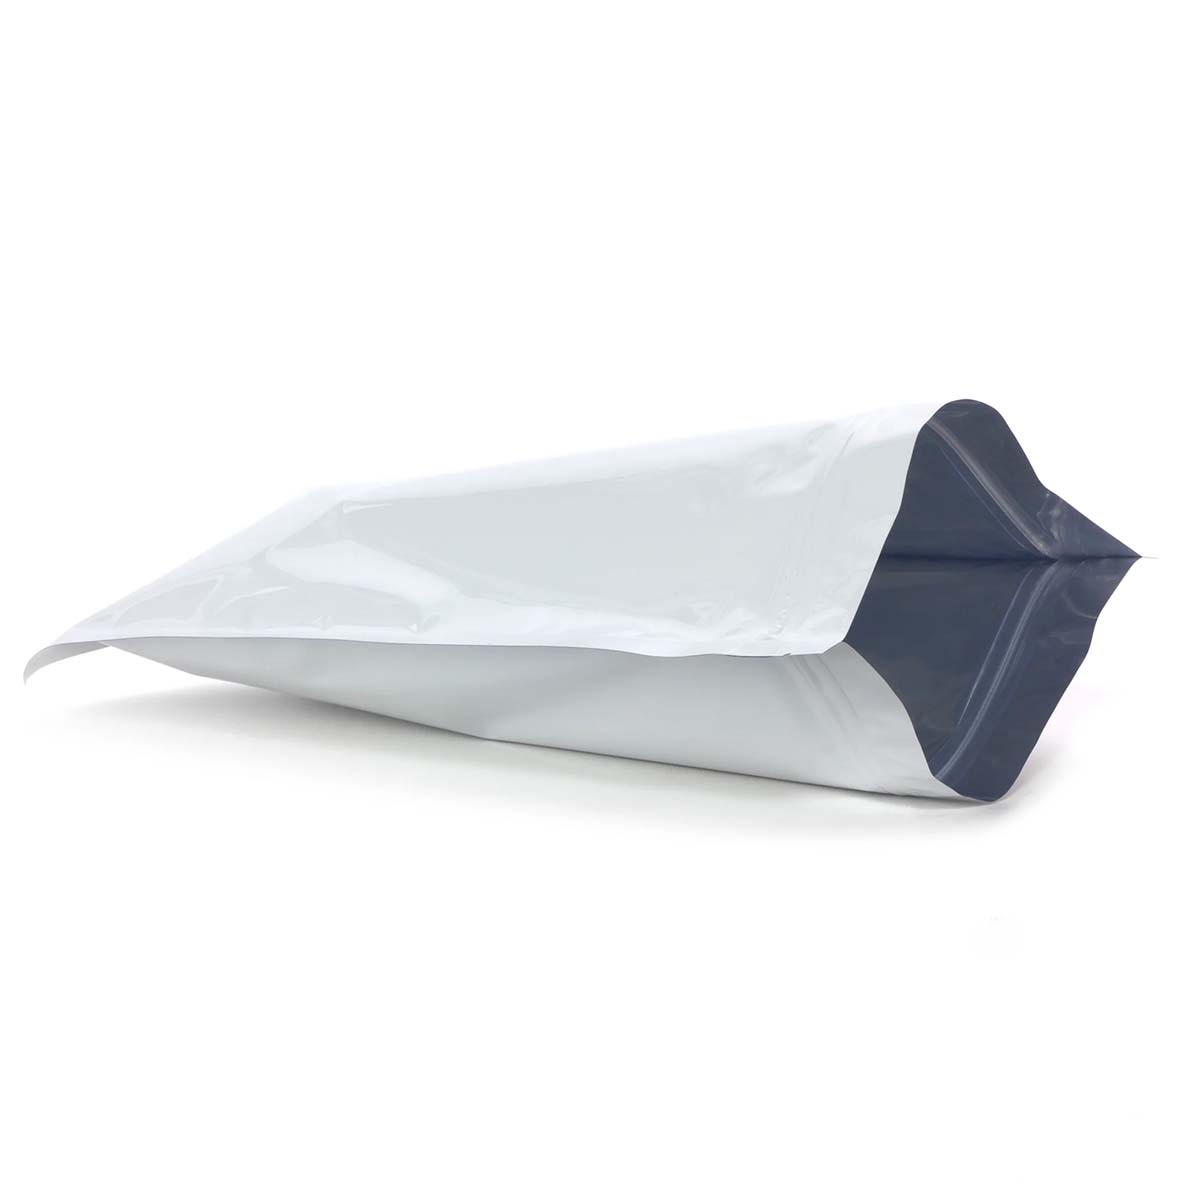
Filling and sealing 6 Mil Mylar Bags needs a clean process so the pouch can close properly and hold the product without extra pressure. The product should match the bag size, and the fill line should stay below the seal area. This helps the pouch close evenly and reduces the chance of weak sealing during storage or shipping.
Preparing The Bag Before Filling
Before filling starts, the bag should stay clean, dry, and open enough for smooth product loading. Dry foods, powders, snacks, herbs, and small kits may need different filling tools. A scoop, funnel, or filling machine can help keep the pouch neat and reduce product dust near the top seal area.
Useful points include:
- Keep the top seal area clean
- Use dry tools before filling
- Do not overfill the pouch
- Leave space for heat sealing
- Keep powder away from zipper tracks
- Match fill weight with bag size
- Use a stable surface during filling
Check the pouch shape before sealing
- Open the pouch carefully.
- Add the product slowly.
- Keep the fill line below the seal area.
- Remove extra air where needed.
- Seal the pouch with steady pressure.
| Filling Area | What To Do | Why It Matters | Best Use | Helpful Note |
|---|---|---|---|---|
| Fill Line | Keep product below top area | Supports clean sealing | Food and dry goods | Avoid overfilling |
| Seal Zone | Keep free from dust | Helps seal close evenly | Powders and grains | Wipe if needed |
| Filling Tool | Use scoop or funnel | Reduces mess | Small products | Match tool to product |
| Air Space | Press gently if needed | Helps pouch sit flat | Storage packs | Do not crush product |
| Final Check | Review pouch before sealing | Reduces errors | Bulk orders | Check every batch |
Sealing The Pouch The Right Way
A proper seal helps protect the product from outside exposure. Heat sealed Mylar bags need the correct temperature, pressure, and sealing time. If the heat is too low, the seal may open. If the heat is too high, the top area may wrinkle or weaken.
The sealing method should match the film structure. Thicker 6 mil bags may need a stronger sealing setting than thinner pouches. Testing one pouch before sealing the full batch helps confirm the right setup.
Useful points include:
- Use the right heat level
- Apply steady pressure
- Test the seal before bulk packing
- Keep the zipper area clean
- Let the seal cool before handling
- Avoid sealing over product dust
- Use a wide seal for heavier products
Store sealed bags in a dry place
- Set the sealer according to the film thickness.
- Seal one test pouch first.
- Check if the seal closes fully.
- Adjust heat or pressure if needed.
- Continue sealing once the test looks correct.
| Sealing Step | What To Check | Why It Matters | Best Practice | Helpful Note |
|---|---|---|---|---|
| Heat Setting | Temperature level | Controls seal strength | Test first | Adjust slowly |
| Pressure | Even seal line | Helps closure hold | Press evenly | Avoid gaps |
| Seal Width | Top closure area | Adds support | Use enough width | Good for heavier fills |
| Cooling Time | Let seal settle | Reduces seal stress | Wait briefly | Do not pull immediately |
| Seal Review | Check for gaps | Prevents leakage | Inspect before packing | Repeat if needed |
Sealing The Pouch The Right Way
A proper seal helps protect the product from outside exposure. Heat sealed Mylar bags need the correct temperature, pressure, and sealing time. If the heat is too low, the seal may open. If the heat is too high, the top area may wrinkle or weaken.
Useful points include:
- Use the right heat level
- Apply steady pressure
- Test the seal before bulk packing
- Keep the zipper area clean
- Let the seal cool before handling
- Avoid sealing over product dust
- Use a wide seal for heavier products
Store sealed bags in a dry place
- Set the sealer according to the film thickness.
- Seal one test pouch first.
- Check if the seal closes fully.
- Adjust heat or pressure if needed.
- Continue sealing once the test looks correct.
Plan Your Order With Flexible Options
Mylar Bags By Size let you explore different dimensions and gauges to match your storage needs. From smaller pouches for samples to larger gallon bags for bulk items, this category helps you choose quickly without confusion.
You can choose plain silver for maximum barrier, matte colors for a premium look, or printed art for retail. Zip closures can be added to 1–4 gallon sizes to support repeated access.
Printing And Finish Choices For 6 Mil Bags
Printing should make product details easy to read. A 6 mil pouch gives a steady surface for artwork, product names, storage notes, logos, barcodes, QR codes, and batch areas. The design should stay clean, especially if the pouch uses darker film or strong colors.
Clean Artwork With Coating Options
A coating changes how the pouch looks and feels. Matte gives a low shine surface. Gloss creates a smoother and brighter printed surface. Spot UV adds shine to selected areas such as a logo, product name, or small design element.
Useful print and finish points include:
- CMYK printing for full color artwork
- PMS matching for consistent color
- White underlay for stronger color on dark film
- Matte finish for lower glare
- Gloss finish for a smoother surface
- Spot UV for selected shine areas
- Soft touch film on request
- Inside print for pattern effects
Print Planning For Better Readability
A printed pouch should keep important details clear. Product name, weight, storage notes, and barcode areas should not sit too close to the seal line. The artwork should leave enough spacing around small text so customers can read the details without confusion.
Artwork steps include:
- Prepare the logo and product text.
- Keep important details away from the seal.
- Place barcode and QR code on flat areas.
- Select coating after layout approval.
- Review the proof before production.
| Finish Choice | Visual Result | Best Use | Surface Feel | Design Note |
|---|---|---|---|---|
| Matte | Low shine surface | Storage bags, natural goods, dry foods | Smooth and soft | Helps reduce glare |
| Gloss | Brighter printed surface | Candy, snacks, bold artwork | Smooth and shiny | Works with strong colors |
| Spot UV | Shine on selected areas | Logo or product name | Mixed surface | Use on limited areas |
| Soft Touch | Smooth hand feel | Premium product lines | Velvety surface | Keep artwork simple |
| Clear Window | Product view area | Cereal, snacks, dry goods | Film opening | Plan placement early |
Choose Between 5 Gallon And 10 Gallon Formats
Both sizes work well for staples. The choice comes down to refill frequency, lifting weight, and storage footprint.
Quick Selector For Capacity
- 5 Gallon Mylar bags suit families rotating stock every few months.
- 10 Gallon Mylar Bags reduce bag count when you store very large quantities.
- Extra large mylar bags reduce plastic waste per pound stored.
- Use a bucket or rigid tote when stacking heavy bags.
Weight matters. A full 10-gallon bag of rice can be heavy; plan shelf height and access accordingly.
| Capacity | Typical Fill Examples | Handling Tip | Add-ons |
|---|---|---|---|
| 5 gal | – ~35–40 lb of rice – ~30 lb of beans – Suitable for flour, sugar, or dried fruit |
– Store filled bags in lidded food-grade buckets – Keep away from direct sunlight |
– Write date on bag and bucket lid – Optional oxygen absorbers for long-term freshness |
| 7 gal | – Mixed grains for 3–6 months – Pasta, lentils, or rolled oats – Suitable for medium-sized family stock |
– Use wider gusset for easy stand-up filling – Rotate stock every 6–12 months for freshness |
– Add tear notch and zip if accessing weekly – Clear front window for partial visibility |
| 10 gal | – Long-term food staples for groups – Wheat, corn, large bean varieties – Ideal for emergency bulk storage |
– Keep heavy bags on lower shelves for safety – Avoid overfilling to reduce seam strain |
– Double-seal top seam for transport durability – Reinforced handles for easier lifting |
After sealing, let the bag cool flat to set the seam before placing in buckets or bins.
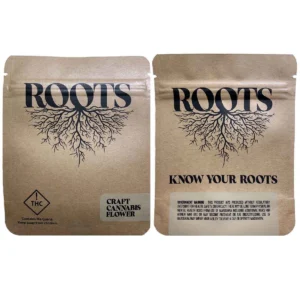
Custom Mylar bags For Brands And Co-Packers
Retail lines need consistent color, readable typography, and UPC placement. Co-packers need precise sizes for fillers and weighers. 448g Mylar Bags are a common choice in this category because they balance capacity with easy handling during retail filling and sealing. Our team sets dielines, checks ink limits, and proofs small text for barcodes and nutrition panels.
Brand And Lineup Tips
- Align panel grids so flavors read in the same position across SKUs.
- Use matte laminate to reduce glare on small print.
- Keep windows clear of zipper tracks and folds.
- Place reseal zips low enough for small hands but high enough to avoid product in the seal.
For sample kits and small fills, match art across the family with a small-format companion like 448g Mylar Bags placed lower on the PDP as a related item.
How To Compare Good Better Best Options
Not every application needs the thickest film or the most upgrades. Use the tier view below to balance cost and performance.
| Feature | Details | Material Options | Finishing Choices | Add-ons & Features | Usage/Application |
|---|---|---|---|---|---|
| Good | Entry-level protection. 4–5 mil thickness. Plain foil. Heat seal only. | Standard Mylar film Foil barrier layer |
Basic finish (no gloss or matte) | Heat-sealable tops only | Pantry storage Dry goods Products with minimal handling or short-term storage |
| Better | Mid-tier protection. 5–6 mil thickness. Zip top plus heat seal for reclose. | Reinforced Mylar film Kraft + foil laminate optional |
Matte or semi-gloss finish available | Resealable zip-lock closure Tear notches for easy access |
Household use Snacks, coffee, teas Frequent open/close handling |
| Best | Premium protection. 6–7.5 mil. High barrier. Printing supported. | Multi-layer Mylar film Aluminum + PET laminate |
Matte or Gloss finish Optional Spot UV for branding |
Clear window cutouts Embossing, foil stamping Brand/logo printing |
Retail display Co-packing & wholesale Heavy transport & long shelf-life products |
This view helps procurement align budget with actual storage and handling needs.
Filling Ideas For Home And Commercial Use
Home pantries and restaurants share similar steps but differ in batch size and labeling needs.
Home Pantry Use
- Portion staples by recipe size.
- Label with date and expected rotation window.
- Keep a shelf plan so older stock moves forward.
Commercial And Co-Packing Use
- Create a sealing SOP with temp and dwell specs.
- Use a scale to keep unit weights consistent.
- Print batch and lot on the top panel for quick scanning.