

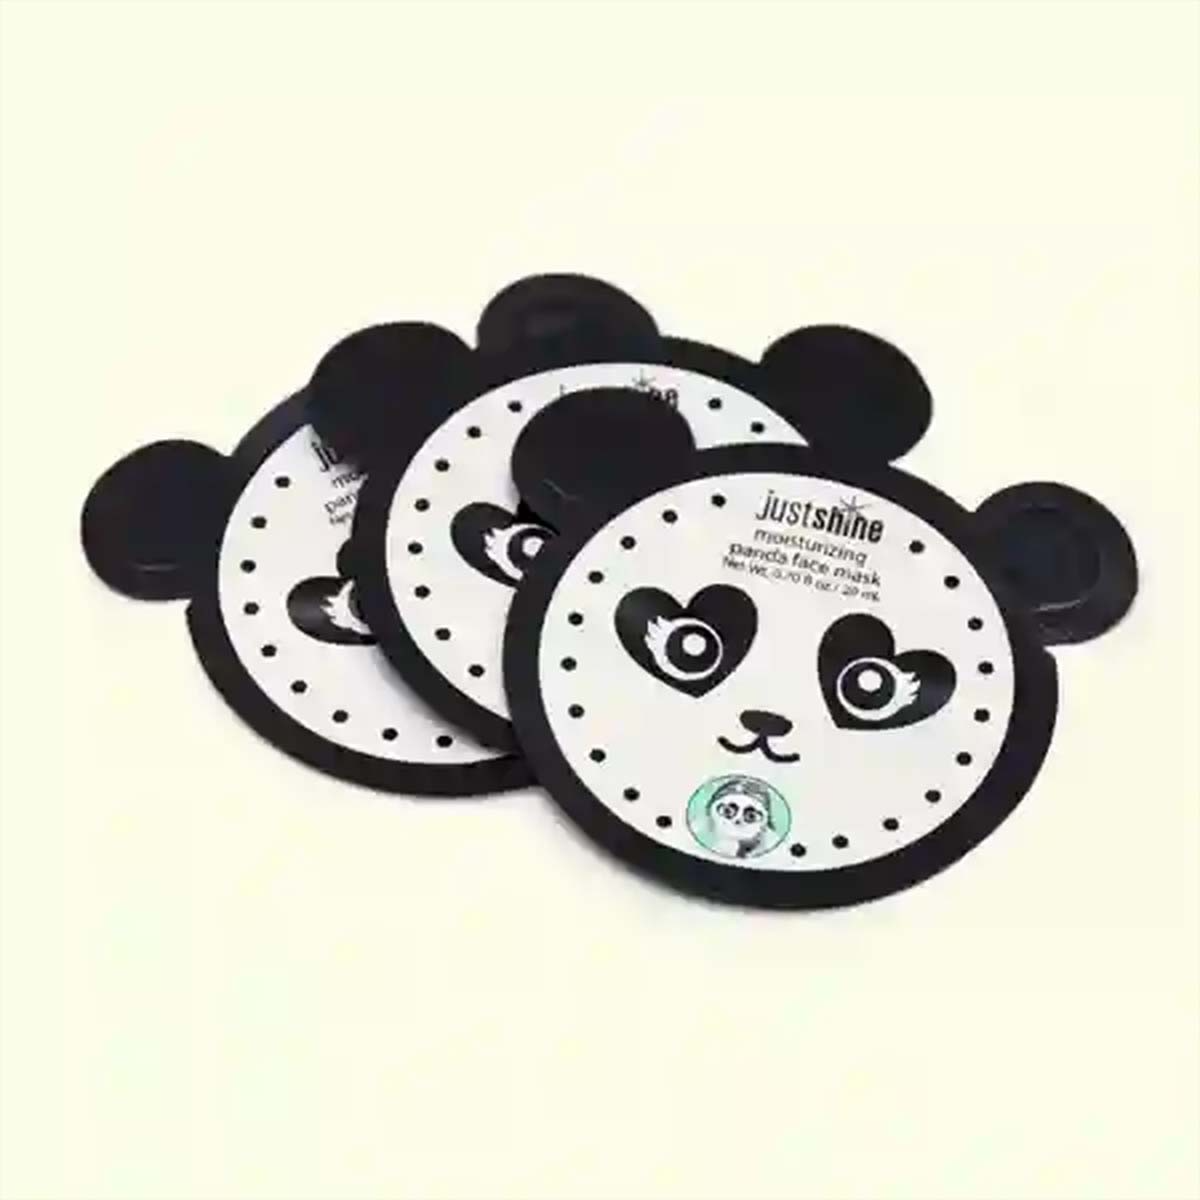
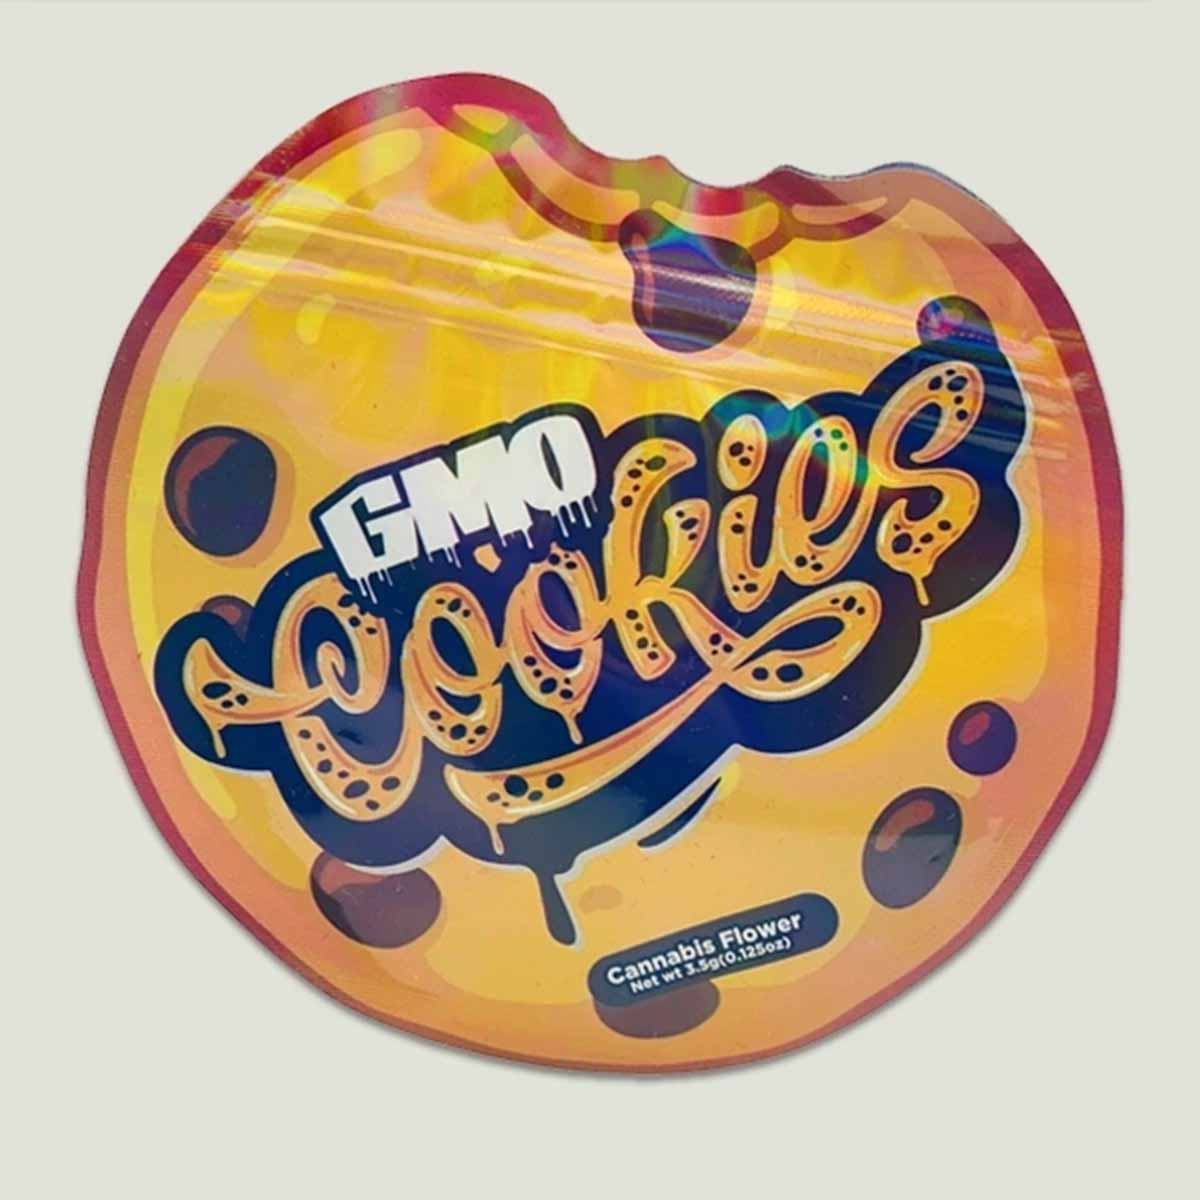

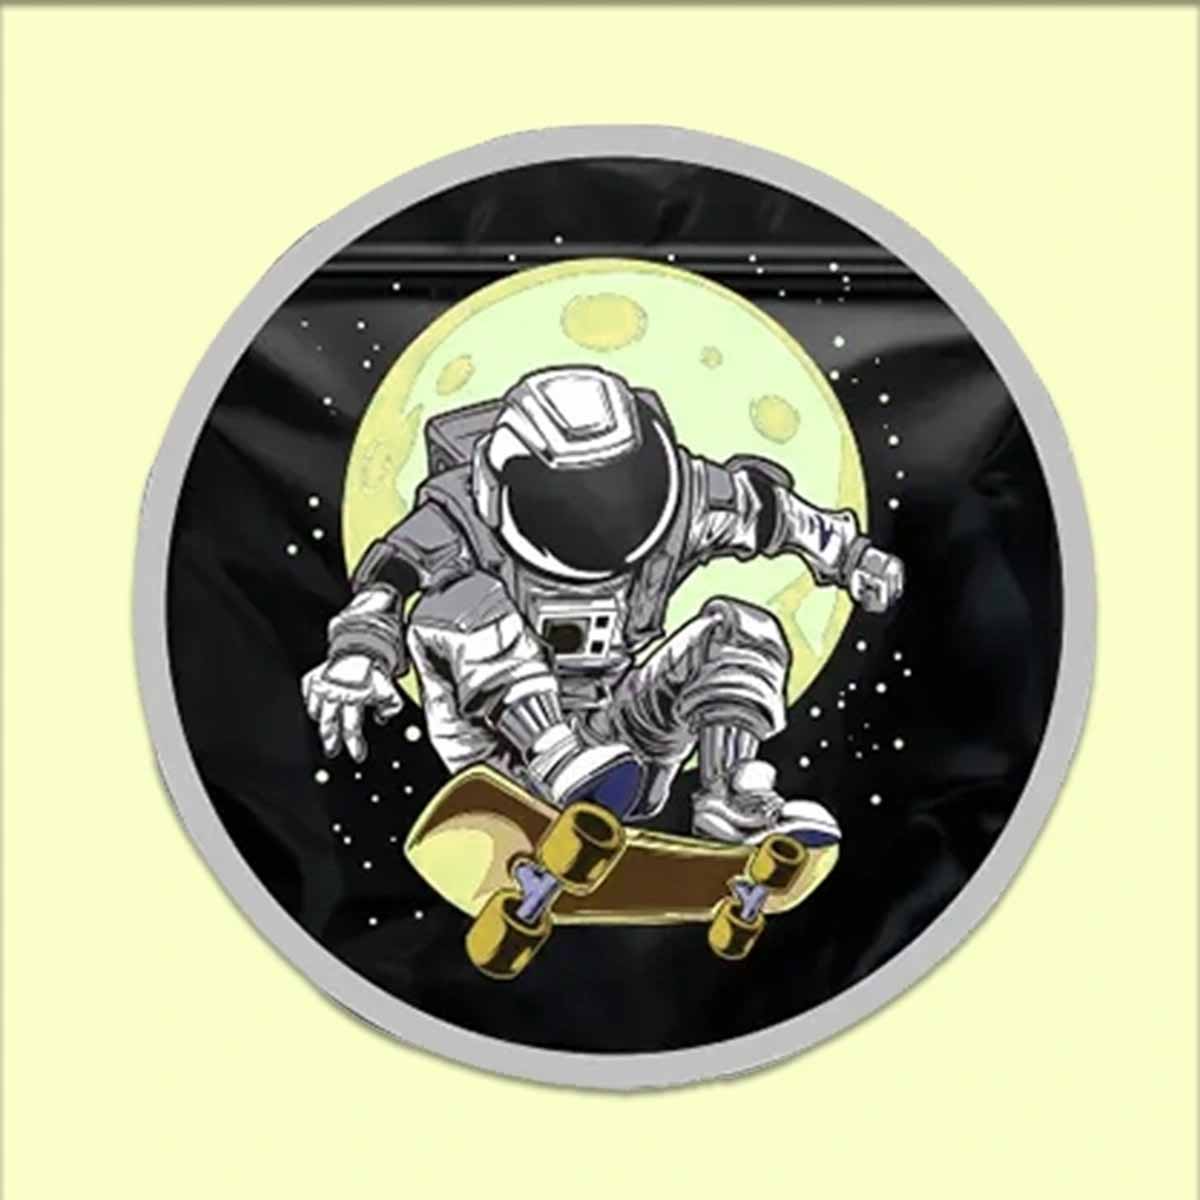




Description
Round Mylar Bags Wholesale With Custom Sizes And Printing
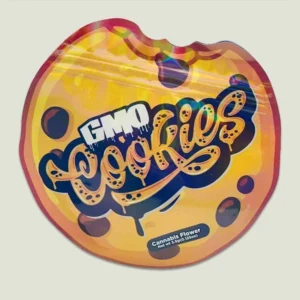
Round Mylar Bags give products a clean circular pouch shape for snacks, samples, gift packs, event kits, food portions, bath items, and small product sets. At Premium Mylar Bags, round mylar bags wholesale can be made with custom sizes, printing choices, film options, and closure styles based on product needs. The round shape gives packaging a different outline while still keeping the pouch practical for filling, sealing, storing, and handling.
Round mylar bags bulk can help businesses keep the same size, material, finish, and artwork layout across repeat product runs. Custom Mylar bags can also be planned around product weight, display method, seal style, and storage needs. Many buyers compare round pouches with Mylar Bags wholesale options when they need stable packaging for samplers, seasonal items, small food packs, and compact product lines.
Why Round Mylar Bags Work For Product Lines
Round packaging gives products a different outline from square, rectangle, and stand up pouch formats. This shape works well for items that need a softer visual profile, such as candy, bakery samples, tea packs, bath items, gift products, and small kits. Also, the round pouch can help separate special items from regular product packaging.
Key details include:
- Round shape supports a different pouch profile
- Barrier film helps reduce moisture contact
- Heat seal options support closed packing
- Zipper options support repeated opening
- Clear window options can show part of the product
- Hang holes can support peg display
- Tear notches can help with first opening
- Custom sizes can match product weight
Simple Planning For Round Pouch Orders
Planning the pouch size before printing helps reduce layout issues. The product weight, pouch diameter, closure style, and artwork space should be checked before production. In addition, the seal area should stay clear so the pouch can close properly after filling.
Planning steps include:
- Confirm the product fill weight.
- Choose the target pouch diameter.
- Select zipper, heat seal, or child resistant closure.
- Choose clear window or full artwork coverage.
- Review the print layout before production.
| Feature | Details | Film Choices | Finishing Choices | Add Ons And Features | Usage And Notes |
|---|---|---|---|---|---|
| Diameters | Custom from 3 in to 12 in | PET Mylar, Metallized PET, Kraft laminate, Clear or Opaque | Gloss, Matte, Spot UV, optional soft touch | Zipper, hang hole, tear notch, rounded edge seal | Samples, snacks, favors, product kits |
| Thickness | 3.0 to 6.0 mil | Single or multi layer laminates | Anti scratch films available | Bottom gusset for stand up rounds | Heavier fills and display use |
| Printing | CMYK or PMS, front and back | White ink underlays for darker films | High resolution text and lines | Serial codes and compliance marks | Product packaging and sample packs |
| Closures | Heat seal, standard zipper, CR zip on request | Works with transparent and opaque films | Clean seal area for impulse sealers | Tamper labels and hole punch options | Manual packing and filling lines |
| MOQ And Lead Time | From 100 units with bulk tiers | Price breaks at 500, 1000, 3000 | Color proofing on reorders | Dieline and design support | 6 to 9 business days after proof |
Circle Mylar Bags And Related Formats
Round Mylar Bags often get compared with Circle Mylar Bags, square pouches, oval pouches, and shaped bags. Each format has its own use. A circle pouch offers a full round outline, while a square pouch gives more straight edges for text.
An oval pouch can support a softer profile with more horizontal space. If product lines use several pouch shapes, the artwork system should stay consistent. This means the logo position, color style, back panel details, barcode space, and finish choices should follow the same pattern.
Consistent Branding Across Shapes
Using one artwork system across shapes can reduce confusion. A product can use a round pouch for samples, a square pouch for regular stock, and an oval pouch for seasonal sets. As a result, related products can still look connected without changing every packaging detail.
Branding points include:
- Use the same logo position across shapes
- Keep product names in a similar area
- Use matching color rules
- Keep back panel information organized
- Save dielines for future use
- Keep barcode placement consistent
- Match finish choices across related packs
- Use clear text on every shape
Branding steps include:
- Choose the main pouch shape.
- Create a shared artwork system.
- Adjust layout for each format.
- Keep important details in readable zones.
- Review all shapes together before production.
| Pouch Shape | Best Use | Print Space | Display Style | Helpful Note |
|---|---|---|---|---|
| Round Pouch | Samples and themed packs | Center focused | Soft circular outline | Needs careful spacing |
| Circle Pouch | Small product runs | Center and back panel | Clean round format | Good for limited items |
| Square Pouch | Text heavy products | More straight lines | Balanced shape | Easier for longer details |
| Oval Pouch | Gift and sample packs | Wider center area | Soft profile | Works with horizontal logos |
| Custom Shape | Special projects | Varies by shape | Product specific | Requires careful dieline review |
Use Cases And Pack Planning
Round pouches can support everyday selling, seasonal edits, sample programs, and event packs. They work for candy favors, bakery add ons, cosmetic minis, bead masks, herbal samplers, tea portions, logo stickers, merch coins, bath salts, and compact kits.
The pouch style should match the product’s use. For example, a resealable zipper suits items that customers may open more than once. A heat seal suits single use packs. Meanwhile, a hang hole suits products displayed on pegs.
Planning Checklist For Product Teams
A simple planning checklist can reduce errors before production. Product weight, headspace, film choice, closure, finish, and code areas should be confirmed before print files are finalized.
Checklist points include:
- Confirm fill weight and headspace
- Pick clear window or full art coverage
- Decide on zipper or seal only
- Add hang hole if peg display is needed
- Select coating and Spot UV accents
- Approve color targets for reprints
- Keep barcode and QR code areas clean
- Save final dielines for future orders
Planning steps include:
- Confirm the product type.
- Measure the filled product.
- Choose the pouch diameter.
- Select closure and finish.
- Review proof before production.
| Use Case | Pouch Style | Closure Option | Print Need | Helpful Detail |
|---|---|---|---|---|
| Candy Favors | Small round pouch | Heat seal | Flavor and weight | Good for event packs |
| Bakery Add Ons | Medium round pouch | Seal or zipper | Product name and date | Keep food notes clear |
| Cosmetic Minis | Round sample pouch | Heat seal | Product name and directions | Use clean back panel |
| Herbal Samples | Small pouch | Zipper or seal | Storage notes | Barrier film helps |
| Merch Items | Round pouch | Heat seal | Logo and short text | Works for compact kits |
Navigation For Packaging Options
Many buyers compare shapes before finalizing product details. Some products need round pouches. Others need squares, ovals, stand up bags, or special cuts. Therefore, reviewing the shape first can help narrow down size, print area, and closure options.
Mylar Bags By Shape can help users view different outlines when they choose packaging by appearance and product fit. This grouping also helps product teams compare bag formats without changing the whole packaging plan.
Choosing Shape Before Final Details
Shape should come before artwork because each shape changes the usable design area. Round pouches need center focused artwork. Square pouches allow more straight text lines. Meanwhile, oval pouches give a wider middle area.
Selection points include:
- Choose shape based on product size
- Match pouch outline with display method
- Keep artwork flexible across sizes
- Review dielines before design approval
- Leave seal zones clear
- Keep code areas scannable
- Select finish after layout approval
- Plan reorders with saved files
Selection steps include:
- Choose the product group.
- Compare shape options.
- Select the best outline.
- Prepare artwork around the dieline.
- Review all details before production.
| Decision Area | What To Review | Why It Matters | Best Practice | Helpful Note |
|---|---|---|---|---|
| Shape | Round, square, oval, custom | Controls layout | Choose before artwork | Review dieline |
| Size | Diameter or width | Affects fill space | Measure product first | Avoid extra headspace |
| Closure | Zip or heat seal | Controls use | Match with product need | Decide early |
| Print Area | Front and back panels | Controls readability | Keep text clear | Avoid busy zones |
| Finish | Matte, Gloss, Spot UV | Changes surface look | Match with artwork | Review proof |
Service Details And Order Planning
Round Mylar Bags can be planned for product samples, event kits, food portions, small goods, and seasonal edits. The order details should include diameter, fill weight, closure style, film choice, artwork, finish, quantity, and delivery need.
Premium Mylar Bags can prepare custom sizes and styles, coating choices such as Gloss, Matte, and Spot UV, material options, printing options, and order support based on these details. Clear information helps reduce revision time.
What To Prepare Before Quote
A quote becomes more accurate when the main pouch details are clear. Diameter, fill weight, film type, and closure style affect both price and production planning. Artwork and finish choices also affect the proofing stage.
Quote details include:
- Pouch diameter
- Fill weight
- Film color
- Window choice
- Closure style
- Coating option
- Artwork file
- Quantity
- Shipping location
Quote steps include:
- Share the target diameter.
- Confirm the product fill weight.
- Select film and closure style.
- Send artwork or design notes.
- Review the production window.